
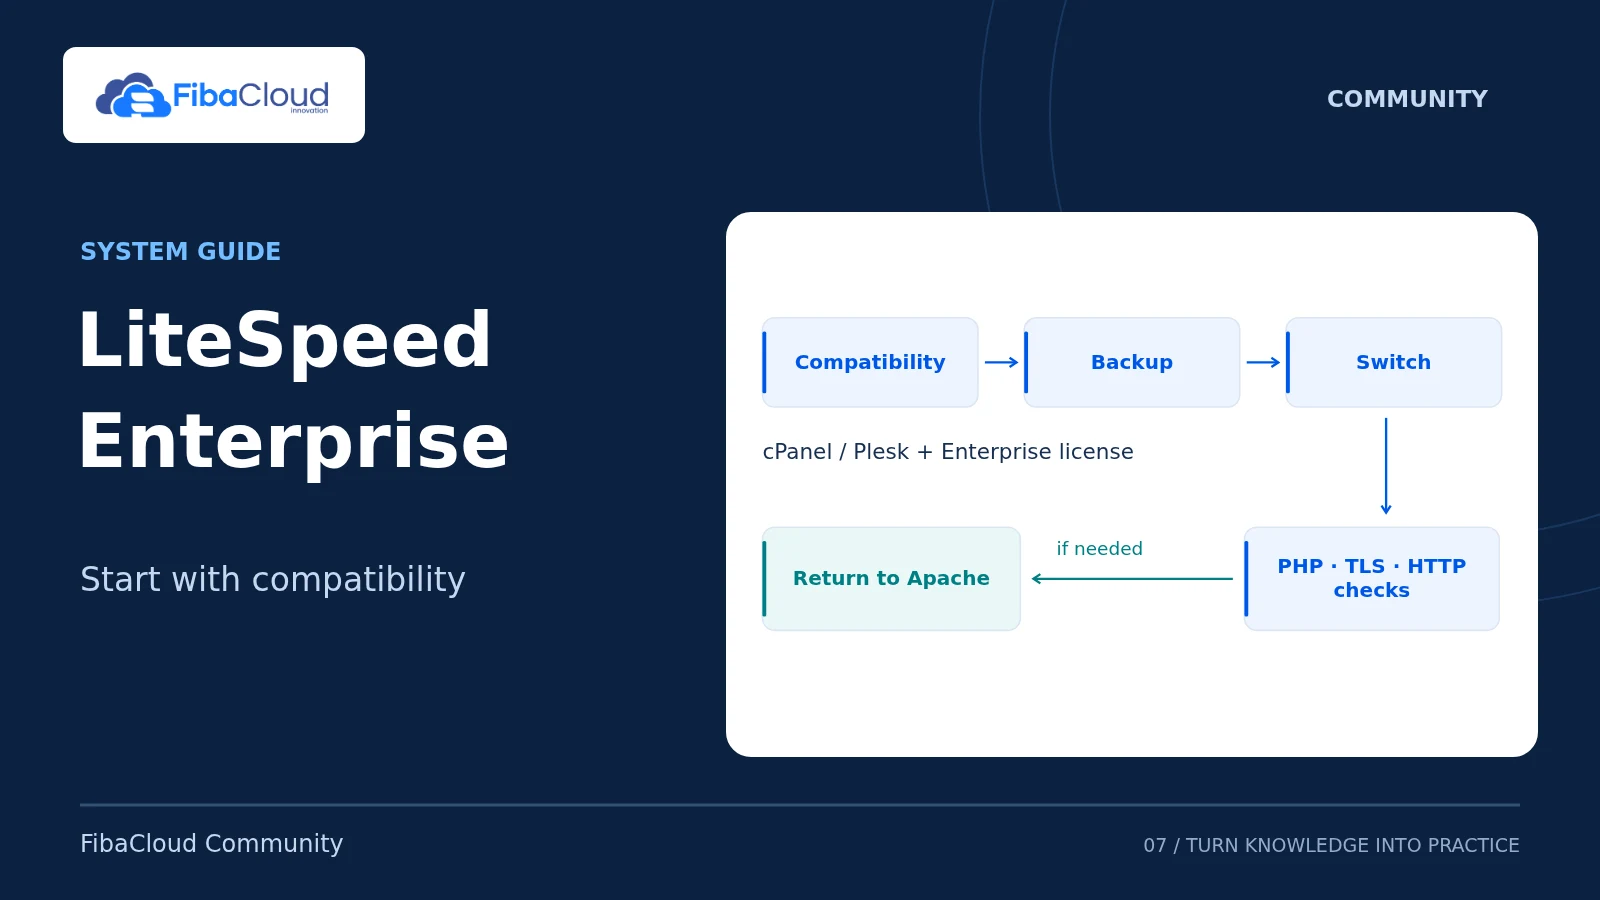
LiteSpeed Web Server Enterprise can serve websites using an existing panel-managed Apache configuration. This guide covers licensed LiteSpeed Enterprise on an existing Linux cPanel/WHM or Plesk server. OpenLiteSpeed is a separate product; its installation instructions and panel integrations are different.
Review status — 20 September 2026: These instructions were reviewed against the official documentation listed below. Installation, license activation, PHP integration, live switching and rollback have not been verified end to end on licensed cPanel or Plesk test servers for this article. Complete those checks in a matching staging environment before using this procedure in production.
1. Prepare a working Apache installation and a recovery plan
Use a currently supported combination of operating system, panel release and LiteSpeed Enterprise version. Confirm the supported combination with the vendors before installation; this guide does not establish a universal version matrix.
Before changing the server:
- Obtain administrator access to the panel and authorized root access through SSH or
sudo. Keep a recovery console available independently of the website. - Obtain a valid Enterprise license suitable for the server’s domain, memory and worker limits. Confirm that the server can reach
https://license.litespeedtech.comthrough its outbound network controls. A license request or purchase is a separate action; these instructions do not automatically request a trial. - Record the current Apache virtual hosts, TLS certificates, redirects, PHP versions, extensions and per-site settings. Include reverse proxies, real-client-IP handling, WebSocket applications, access restrictions and ModSecurity rules. Apache modules are not loaded directly by LiteSpeed, and some rewrite semantics differ.
- Take recoverable backups of the websites, databases and panel/web-server configuration. Verify a restore on an isolated system. Keep the working Apache installation and configuration available for rollback.
- Test representative sites under Apache first. Record successful login/logout, forms, uploads and shopping-cart behavior, plus error rates and response times. An existing application failure must be resolved before migration.
- Plan a maintenance window and define rollback triggers. A broken certificate, exposed private content, failed login or checkout, or a sustained increase in errors should stop the migration.
Inventory the listening ports with this read-only command:
ss -ltnpRecord which processes own ports 80 and 443. Keep public web access on the required TCP ports; do not expose WebAdmin or test ports to the entire Internet. Restrict WebAdmin, commonly TCP 7080, to administrative IPs or a private management network. Restrict preliminary test ports 1080 and 1443 to the test operator. UDP 443 is relevant if you separately enable and validate HTTP/3; it is not required for this initial HTTP/HTTPS migration.
2. cPanel/WHM: install the management plugin and Enterprise server
Follow this section for cPanel/WHM. Plesk users should use the next section instead.
Check cPanel-specific prerequisites
In WHM, review your EasyApache 4 profile and disable the incompatible mod_ruid2 module using the supported EasyApache workflow. Review the proposed changes before applying them, then confirm that Apache still serves the sites correctly.
Resolve existing Apache replacements or reverse proxies, including nginx and Varnish, through their supported panel integration before installing LiteSpeed. Save their configuration and rollback procedure. Confirm that Apache itself is serving the intended sites on 80/443 after the change. Do not simply stop a proxy service and assume its configuration has been removed.
Record each site’s selected EasyApache PHP version and required extensions. LiteSpeed executes PHP through LSPHP/LSAPI; an Apache PHP-FPM or DSO setup does not prove that the same runtime is ready under LiteSpeed. Verify matching PHP versions, modules, limits, per-user settings and file ownership in staging. The old EasyApache 3 “build matching PHP” option is not a modern EasyApache 4 installation step.
Install the WHM plugin
In WHM Plugins, search for LiteSpeed Web Server Plugin for WHM and install it using the panel’s plugin interface. Open WHM → Plugins → LiteSpeed Web Server.
This installs the management plugin. It does not, by itself, establish that the Enterprise server software is installed, licensed or serving traffic. The current official cPanel quick-start documents the interactive Enterprise installer described below; the plugin is then used to inspect and manage the installation.
Download and review the Enterprise installer
The official installer is available over HTTPS at https://get.litespeed.sh. Download it into a private directory in an authorized root shell:
umask 077
lsws_install_dir=$(mktemp -d /root/lsws-install.XXXXXX)
cd -- "$lsws_install_dir" || exit 1
curl --fail --show-error --location \
  --proto '=https' --proto-redir '=https' \
  --output litespeed-installer.sh https://get.litespeed.sh
Stop if the download fails. Read the saved file and the current vendor instructions before execution:
less litespeed-installer.sh
bash -n litespeed-installer.sh
The syntax check only detects shell syntax errors. It does not establish safety or authenticity. The installer can download additional components, so review its download sources and first exercise the complete installation in staging. This article does not supply a vendor signature or a published checksum; a locally calculated hash would only identify your downloaded copy.
After review, run the saved installer with your existing license. The following prompt avoids putting the literal serial number into shell history; the installer still receives it as a process argument, so use a trusted administrative session and do not share terminal logs:
read -r -s -p 'LiteSpeed Enterprise license serial: ' lsws_license_serial
printf '\n'
bash ./litespeed-installer.sh "$lsws_license_serial"
unset lsws_license_serial
Do not continue after an installation or licensing error. When prompted, use the following initial settings:
| Setting | Initial choice |
|---|---|
| Apache port offset | 1000, allowing preliminary checks on 1080/1443 while Apache remains on 80/443 |
| Automatically switch to LiteSpeed | Disabled / 0 |
| PHP suEXEC | Enabled for shared hosting; the interactive installer recommends 2 for user-home-directory execution |
| Automatic WordPress/LSCache deployment | Disabled / 0 until individual sites pass application tests |
| WebAdmin credentials | A unique administrator identity and a strong, unique password stored securely |
| Administrator email | A monitored address for operational and license notices |
After installation, open the WHM plugin and inspect the license and server state. Confirm the nonzero offset before using its start/restart action for LiteSpeed. Check ss -ltnp again: Apache must still own the live web ports and LiteSpeed must use the intended offset listeners. Installation success alone is not permission to select Switch to LiteSpeed.
3. Plesk: prepare Apache and use the LiteSpeed extension
The official Plesk procedure assumes a working Apache-Plesk installation. LiteSpeed cannot simply take over a Plesk nginx-only or unrelated custom stack using these instructions.
Prepare nginx and PHP handlers
Record any existing nginx proxy settings and custom directives before changing them. In the planned maintenance window, open Tools & Settings → Server Management → Services Management → Reverse Proxy Server (nginx) and select Stop, as the official installation guide directs.
Confirm with ss -ltnp that Apache now listens on 80/443, and retest the websites. If it does not, stop the installation. The official guide identifies plesk repair web as a way to rebuild the web configuration; it is a configuration-changing repair, so review the saved configuration and repair output before using it. Continue only once Apache works correctly without the nginx proxy.
In each relevant subscription/domain’s PHP Settings, select the appropriate FastCGI handler as required by the LiteSpeed Plesk guide. Preserve the required PHP version, extensions and limits. Include service-plan defaults in your review so newly created sites receive compatible settings. Record previous handlers for rollback and test the sites after changing them. An existing FPM configuration is not a substitute for this documented prerequisite.
Install the extension, then install Enterprise
- In Plesk → Extensions, search for LiteSpeed and install the official extension from the catalog. Prefer this route over manually enabling extension uploads in
panel.ini. If a newer vendor package is required, follow the official extension-upload procedure linked below rather than overwriting the panel configuration. - Open the LiteSpeed Extension and select Install LiteSpeed Web Server. Installing the extension alone does not install or activate Enterprise.
- Read the license agreement and enter your valid license serial. Choose a port offset of
1000for preliminary testing. Keep PHP suEXEC enabled for shared hosting, and set secure WebAdmin credentials with restricted network access. - Install the server. Inspect all installation and licensing messages. Use Restart LiteSpeed only after confirming the offset. The extension should show Apache and LiteSpeed on different ports; verify the actual listeners with
ss -ltnp. - Keep Apache on 80/443 until the checks below pass. Do not select Switch to LiteSpeed yet.
4. Run preliminary checks, then test a real switch in staging
With an offset of 1000, HTTP 80 maps to 1080 and HTTPS 443 maps to 1443. These ports support preliminary virtual-host and TLS checks. They do not provide a complete application test.
The following examples use the reserved name site.example and documentation address 192.0.2.10. Replace both with your own test site’s real hostname and the target server’s reachable IP. Run them from an authorized test client whose address can reach the restricted ports. --resolve preserves the hostname used for virtual-host selection and TLS SNI; it does not bypass a firewall.
First record Apache’s normal HTTPS response:
curl --noproxy '*' --connect-timeout 5 --max-time 20 \
  --resolve site.example:443:192.0.2.10 \
  --silent --show-error --dump-header - --output /dev/null \
  https://site.example/
Then inspect LiteSpeed’s offset responses:
curl --noproxy '*' --connect-timeout 5 --max-time 20 \
  --resolve site.example:1080:192.0.2.10 \
  --silent --show-error --dump-header - --output /dev/null \
  http://site.example:1080/

curl --noproxy '*' --connect-timeout 5 --max-time 20 \
  --resolve site.example:1443:192.0.2.10 \
  --silent --show-error --dump-header - --output /dev/null \
  https://site.example:1443/
Inspect the status, certificate result and any Location header. The commands deliberately do not follow redirects or disable certificate verification. A redirect to normal port 443 can return to Apache; a successful page after following it would not prove that LiteSpeed served the application. A Server header alone is also insufficient, since it may be hidden or changed by a proxy.
WordPress, Magento and applications using canonical URLs, secure cookies, callbacks or absolute redirects require a real switch on an isolated staging server using normal 80/443 ports. The official Plesk guide specifically warns that WordPress and Magento cannot be tested on offset ports in the same way as simple sites. Use controlled DNS or a hosts-file mapping for the staging server, appropriate trusted TLS certificates and isolated application data. Disable production email, payment and webhook delivery in that environment. Do not change the production application’s base URL merely to make an offset-port test appear to work.
Switch the staging server through its plugin/extension, execute the acceptance checks below, then rehearse the Apache rollback. Record the panel, OS, LiteSpeed and PHP versions used and the results. A successful offset check alone does not authorize a production switch.
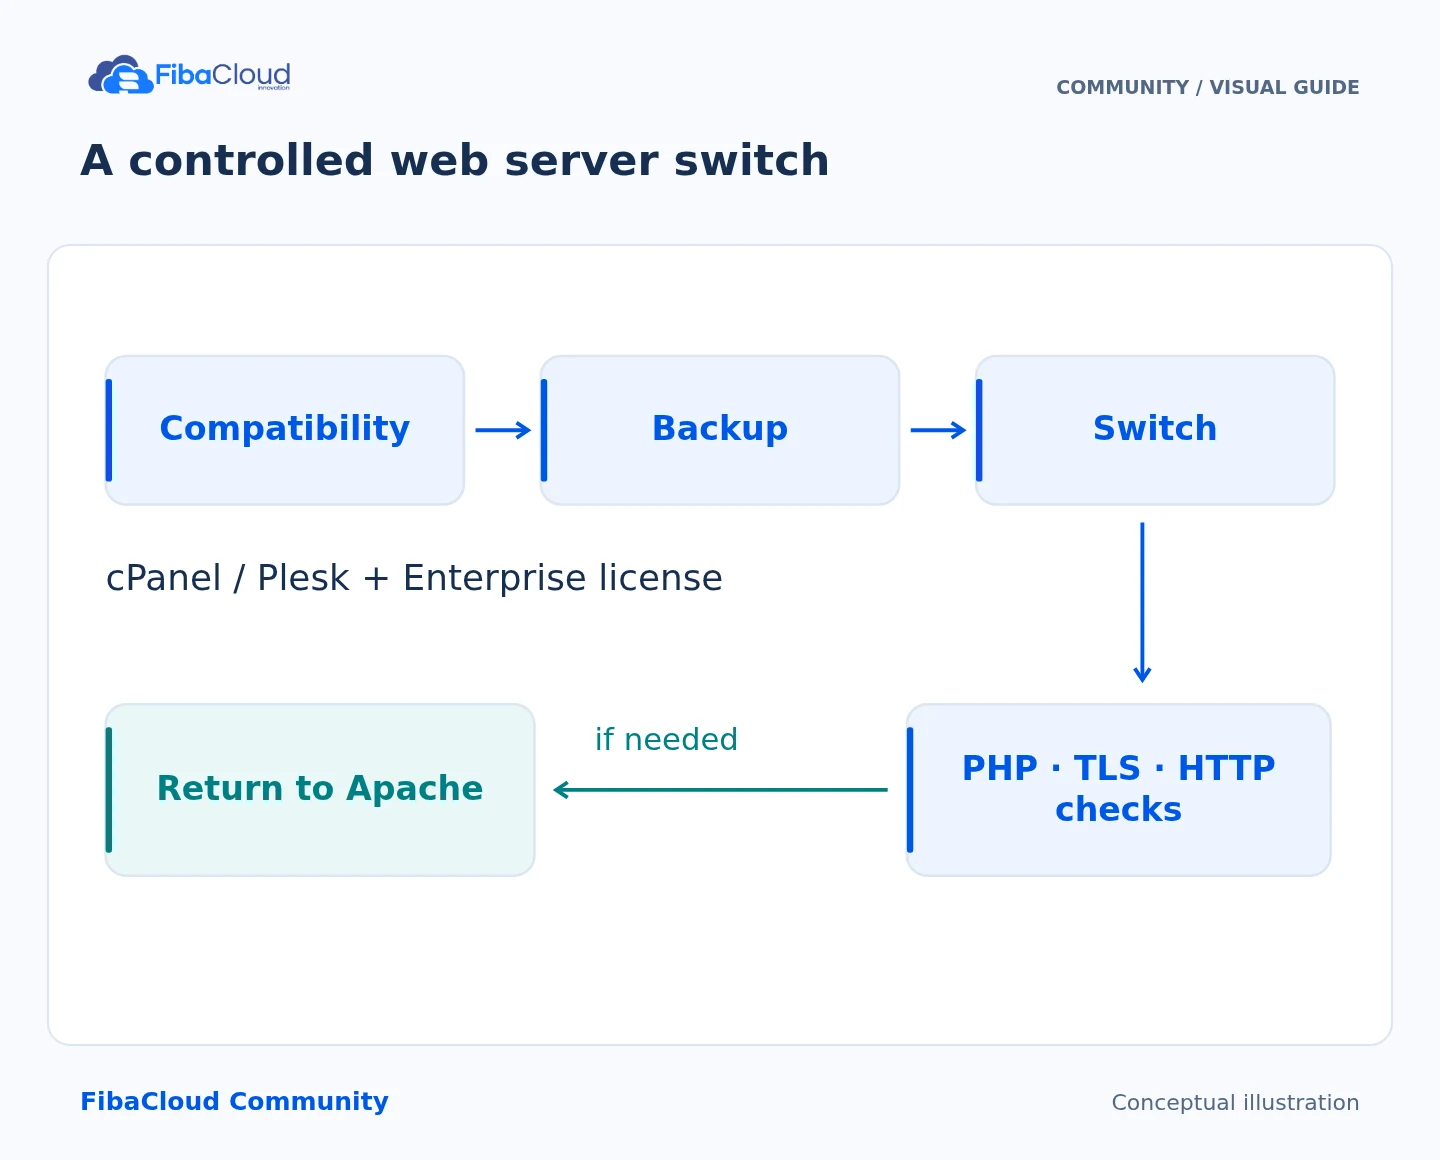
Step-by-step explanation
- Review: Verify panel support and licensing.
- Prepare: Back up configuration and content.
- Switch: Use the supported panel integration.
- Test: Check PHP/TLS/responses; roll back if needed.
5. Switch during the maintenance window and verify the result
Once staging installation, application tests and rollback have passed, repeat the prepared installation on production. Confirm fresh recoverable backups, healthy Apache, a valid license and access to the recovery console.
Use Switch to LiteSpeed in the WHM plugin or Plesk extension. The documented command-line equivalent, from an authorized root shell on a default installation, is:
/usr/local/lsws/admin/misc/cp_switch_ws.sh lswsIf the expected script is absent, stop and investigate the installation. Do not improvise with individual Apache and LiteSpeed service stop/start commands: the vendor’s switch operation also updates the integration state.
Confirm in the panel and with ss -ltnp that LiteSpeed now serves 80/443. Repeat the normal-port HTTPS request above for every representative hostname. Test through the usual CDN/proxy as well as directly to the origin where your access policy permits it.
| Area | Acceptance criteria |
|---|---|
| TLS and host routing | Correct certificate chain and hostname, correct site for each domain/alias, expected HTTP-to-HTTPS redirects, no redirect loop; certificate-renewal integration remains correctly configured |
| PHP and permissions | Expected per-site PHP version, extensions and limits; dynamic pages and uploads work; PHP executes under the intended account and cross-account access remains blocked |
| Application behavior | Login, logout, forms, search, cart and checkout succeed with approved test accounts and sandbox transactions; APIs, scheduled tasks and WebSockets work where used |
| Access controls | Existing private-file restrictions, authentication, real-client-IP processing and required WAF rules behave as intended |
| Operations | No unexplained 403/500/503 increase; logs identify the expected sites; memory, CPU and latency stay within the limits agreed before the switch |
| Recovery | The staged Apache rollback has passed and its commands/configuration remain available |
Use application diagnostics visible only to administrators to inspect the PHP runtime. CLI php -v alone does not verify the PHP version serving a website, and a public phpinfo() page exposes unnecessary configuration details. Review the panel’s domain error logs and LiteSpeed’s configured error/stderr logs rather than assuming one fixed log path applies to every installation.
6. Enable caching after the web-server migration is stable
Start with one representative site. Save the previous cache configuration and account for any existing page-cache plugin or CDN cache. Avoid competing page-cache systems. For cPanel, the official quick-start describes LiteSpeed Configuration → Cache Root Setup → Set Missing Cache Roots in the WHM plugin. For Plesk, follow the extension’s current cache configuration instructions for that installation.
Enable the appropriate application integration, such as LiteSpeed Cache for WordPress, only after its server-side prerequisites are configured. Keep unrelated CSS/JavaScript optimization changes out of the initial cache test. Verify purge behavior and compare repeated anonymous requests: where LSCache response headers are exposed, X-LiteSpeed-Cache: miss followed by hit can help confirm caching. Header absence alone does not establish a failure.
In separate browser sessions, verify that login pages, account pages, carts, checkout and personalized responses follow the application’s documented cache policy. One user’s private content must never be returned to another user or an anonymous visitor. On an isolation or stale-content failure, disable the affected caching, purge the applicable caches and repeat the test before wider deployment.
Measure changes against the Apache baseline using comparable requests and load. Performance gains depend on the application and configuration. Installing LiteSpeed or enabling its connection controls does not provide a guarantee against DDoS attacks.
7. Roll back to Apache if acceptance fails
If a critical check fails, use Switch to Apache in the plugin/extension. The documented command-line equivalent is:
/usr/local/lsws/admin/misc/cp_switch_ws.sh apacheConfirm that Apache owns 80/443 and repeat TLS, redirect, login, form and cart tests. Review logs and verify that traffic is healthy through the normal proxy/CDN path. Restore any PHP-handler or proxy settings from the recorded configuration only as required by your rehearsed rollback; for Plesk, restore the original nginx topology through Plesk after verifying the corresponding Apache configuration. Do not restart an old proxy blindly on occupied ports.
Disable or revert cache changes that are incompatible with the restored setup and purge stale cache where necessary. Keep LiteSpeed installed while investigating unless removal is specifically required. Deleting the downloaded installer removes only that file; removing the WHM plugin also does not uninstall the server. If full removal is later needed, follow the vendor’s panel-specific uninstall procedure after Apache has been restored and verified. Software removal and license/subscription cancellation are separate actions.
Leave a Reply