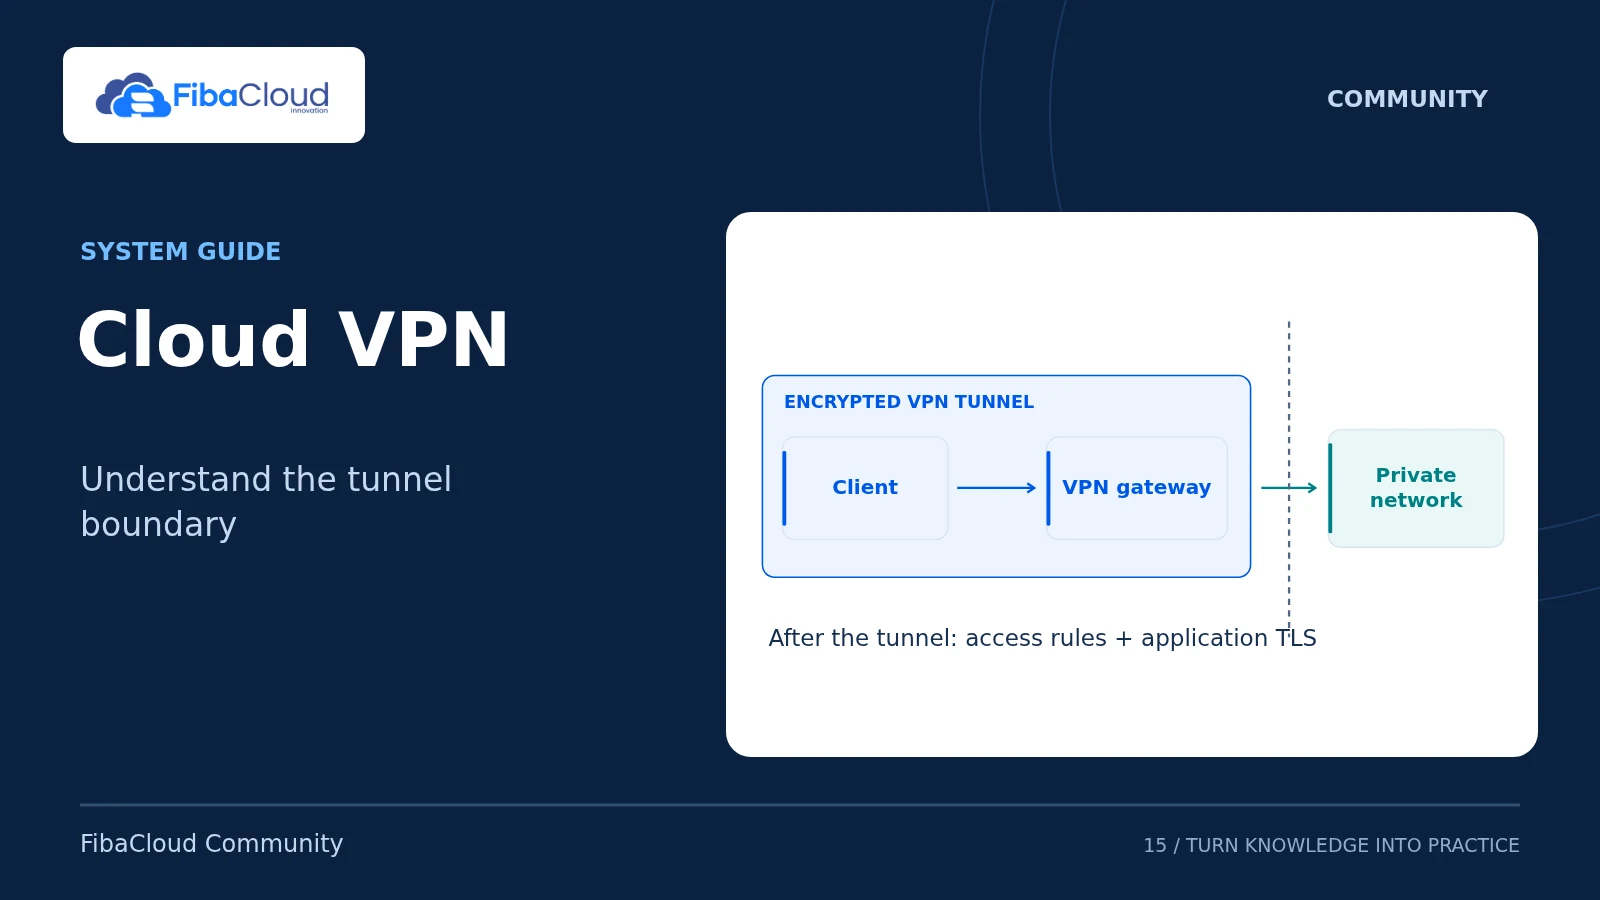
A VPN encrypts traffic between a client and the VPN endpoint. It does not replace application authorization, server updates or TLS. A practical starting point for cloud security is a narrow tunnel that reaches the required service instead of granting access to the whole network.
This guide sets up restricted WireGuard access between an Ubuntu 24.04 LTS client and one cloud server. The client routes only the server’s VPN address through the tunnel. Internet egress, default routes, NAT and forwarding to other servers remain unchanged. Access to a wider private network or a full-tunnel design requires a separate network plan.
Choose WireGuard or OpenVPN deliberately
WireGuard identifies peers by public key. Each peer’s AllowedIPs participates in routing and checks the source addresses accepted from that peer. OpenVPN offers different authentication and PKI options. Do not combine their commands into one installation procedure.
With OpenVPN, clients receive the CA’s public certificate and their own credentials. Never copy the CA private key to a client. Do not replace an existing organizational OpenVPN deployment merely to follow this guide; use its approved profiles and revocation process. The implementation below uses WireGuard.
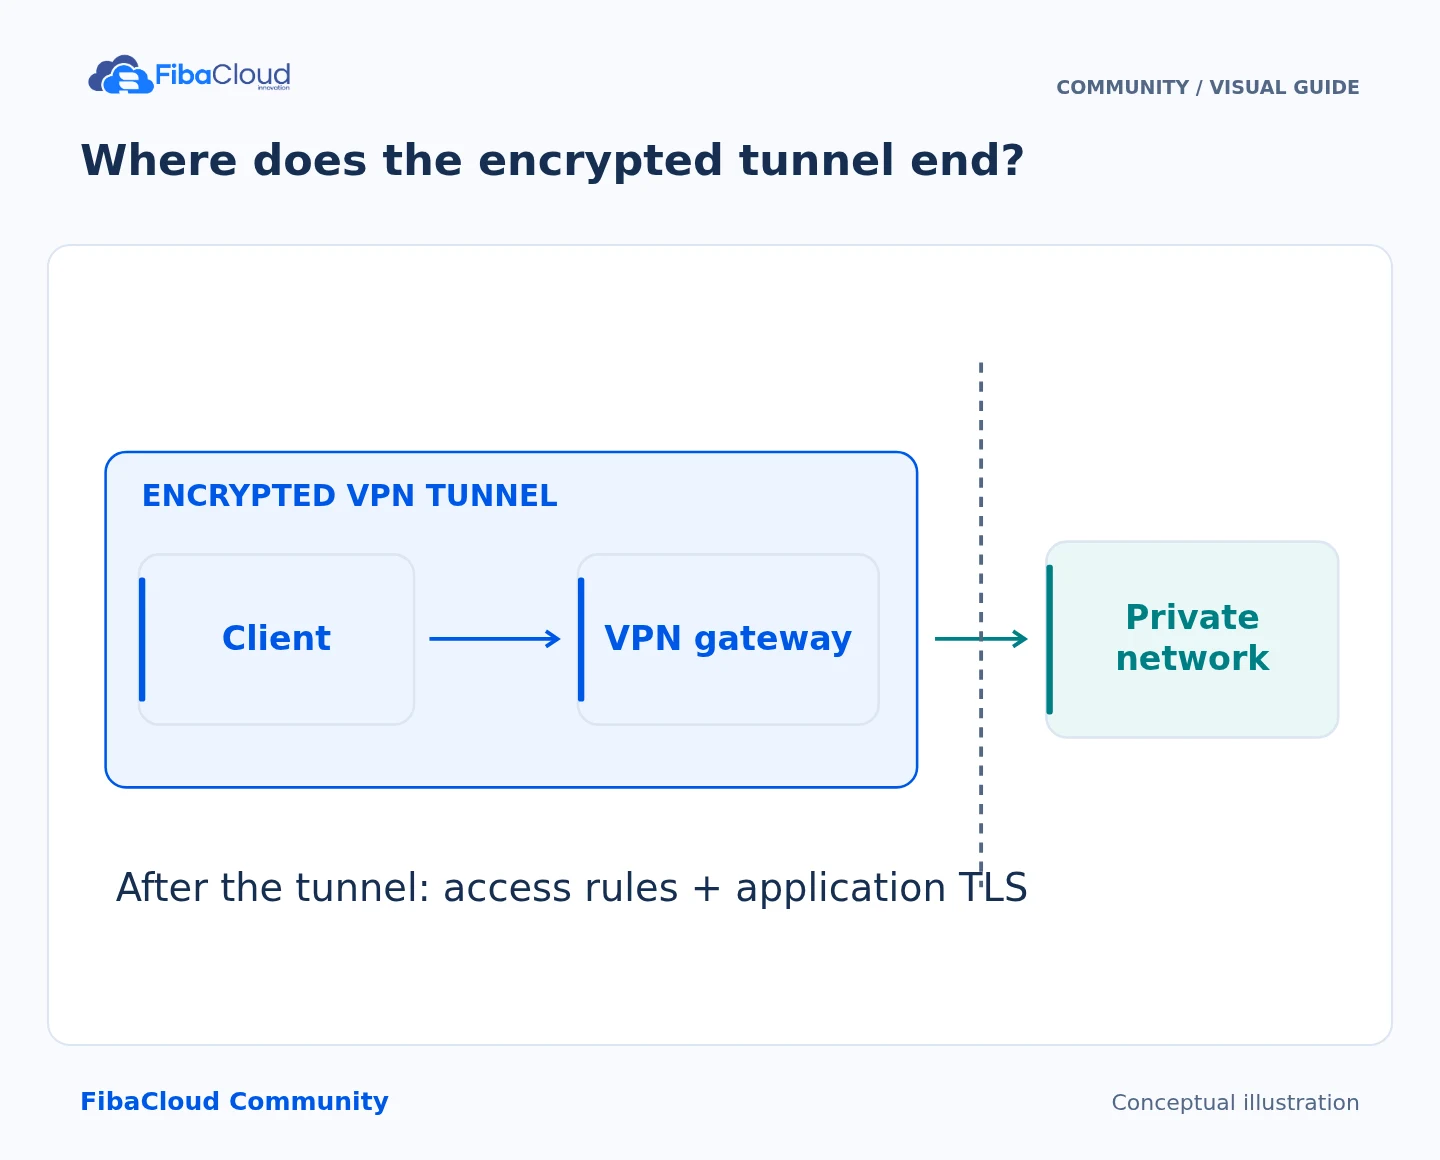
Step-by-step explanation
- Connect: The client authenticates the VPN gateway.
- Encrypt: Protect traffic inside the tunnel.
- Restrict: Apply access rules beyond the gateway.
- Protect: Keep application TLS and authentication.
Prerequisites and address plan
You need administrative access to both endpoints, a working management connection and recovery-console access to the cloud server. Start on separate test servers. This example uses:
| Role | VPN address | Required information |
|---|---|---|
| Cloud server | 10.77.0.1/32 |
A client-reachable public endpoint on UDP 51820 |
| Client | 10.77.0.2/32 |
Server public key and endpoint address |
The addresses must not overlap your existing local networks. If an interface or configuration named wg0 already exists, do not overwrite it; choose a separate test interface and matching filename. vpn.example.com and 198.51.100.10 are documentation examples. Replace them with the real server name and client public source IP.
Record the current state on both endpoints:
ip -4 address show
ip -4 route show
sudo wg show If wg is not installed yet, run the last command after package installation. On both Ubuntu 24.04 endpoints:
sudo apt update
sudo apt install wireguard Generate separate keys on each endpoint
Run the following independently on the server and client. Stop if the working directory already contains these key files; do not replace a production key.
install -d -m 700 "$HOME/wireguard-setup"
cd "$HOME/wireguard-setup"
umask 077
wg genkey | tee wg0.private | wg pubkey > wg0.public
cat wg0.public Share only wg0.public through a trusted channel. The private key stays on its endpoint. Do not expose it in chat, email, repositories or screenshots. Record which device owns each public key.
Keep server and client configurations separate
For a new configuration, restrict permissions before writing the key on each endpoint:
sudo install -d -m 700 /etc/wireguard
sudo touch /etc/wireguard/wg0.conf
sudo chmod 600 /etc/wireguard/wg0.conf
sudoedit /etc/wireguard/wg0.conf Replace the <...> placeholders with the correct keys in your local editor. Placeholders are not valid keys. Do not put private keys in command arguments or shell history.
Cloud server — /etc/wireguard/wg0.conf:
[Interface]
Address = 10.77.0.1/32
ListenPort = 51820
PrivateKey = <SERVER_PRIVATE_KEY>
[Peer]
PublicKey = <CLIENT_PUBLIC_KEY>
AllowedIPs = 10.77.0.2/32 Client — /etc/wireguard/wg0.conf:
[Interface]
Address = 10.77.0.2/32
PrivateKey = <CLIENT_PRIVATE_KEY>
[Peer]
PublicKey = <SERVER_PUBLIC_KEY>
Endpoint = vpn.example.com:51820
AllowedIPs = 10.77.0.1/32
PersistentKeepalive = 25 PersistentKeepalive helps preserve a client-side NAT mapping; it is not mandatory on every network. Give each client a distinct public key and non-overlapping /32 address on the server. Do not share one private key across users. Do not add 0.0.0.0/0, ::/0, NAT or IP forwarding to this example; they change its scope.
Keep network rules narrow
In the cloud network rule, allow only the required client source IP to the server’s UDP 51820 port. If the client’s public IP changes, plan the access model with the administrator instead of silently allowing every source.
If UFW is already enabled and is the server’s active firewall, inspect it first. Replace the documentation address with the real client source IP:
sudo ufw status numbered
sudo ufw allow proto udp from 198.51.100.10 to any port 51820 This guide does not enable or reset UFW or disable another firewall. If your firewall differs, have the administrator configure the equivalent narrow rule. Preserve the rules used for management access.
Limit the application port separately. For example, to allow only this client to an already configured HTTPS service through the VPN:
sudo ufw allow in on wg0 proto tcp from 10.77.0.2 to 10.77.0.1 port 443 This does not automatically remove the application’s existing public access. Verify the public/private access policy separately, and keep application login requirements in place.
Start and verify the connection
Run on the server first, then the client:
sudo wg-quick up wg0
sudo wg show wg0 Initiate traffic from the client and inspect the handshake time:
ip route get 10.77.0.1
ping -c 3 10.77.0.1
sudo wg show wg0 latest-handshakes
ip -4 route show default Expect the route through wg0, a recent handshake and transfer counters increasing in both directions. A handshake value of 0 means no handshake has occurred yet. ICMP may be blocked, so a failed ping alone does not prove a broken tunnel. The default internet route should remain the same as before.
If an existing HTTPS application is configured on the VPN address with a valid certificate, test using its real hostname without disabling TLS verification:
curl --connect-timeout 5 \
--resolve app.example.com:443:10.77.0.1 \
https://app.example.com/ This command verifies an existing service; it does not install the application or certificate. Separately check that an authorized client can access it and that the application rejects an unauthorized account. After the checks, enable startup on each endpoint with sudo systemctl enable wg-quick@wg0 if required.
Troubleshooting and rollback
- No handshake: Check endpoint DNS/IP, UDP port, the public key assigned to each peer and the client source-IP rule.
- Handshake but no service: Check
AllowedIPs, the application’s listening address/port and itswg0rule. Do not add unnecessary NAT or broad network access. - Address overlap: Bring down the tunnel and update both endpoints with unused addresses.
- Lost or exposed key: Remove that peer’s public-key authorization, generate a new key pair and update the peer configuration.
To roll back, run sudo wg-quick down wg0 on both endpoints. If this procedure enabled startup, use sudo systemctl disable wg-quick@wg0. Remove only peer entries and network rules added by this test; preserve existing management rules. Recheck the default route and previous application access.
Sources
- WireGuard — Official quick start and key generation
- WireGuard — Protocol and peer identity
- Ubuntu 24.04 — wg-quick: interface and route management
- Ubuntu 24.04 — ufw: interface, protocol and source-address rules
- OpenVPN — Certificate authority setup and key separation
Technical content and sources reviewed on October 4, 2026. Recheck the relevant official documentation when a version or provider changes.
Leave a Reply