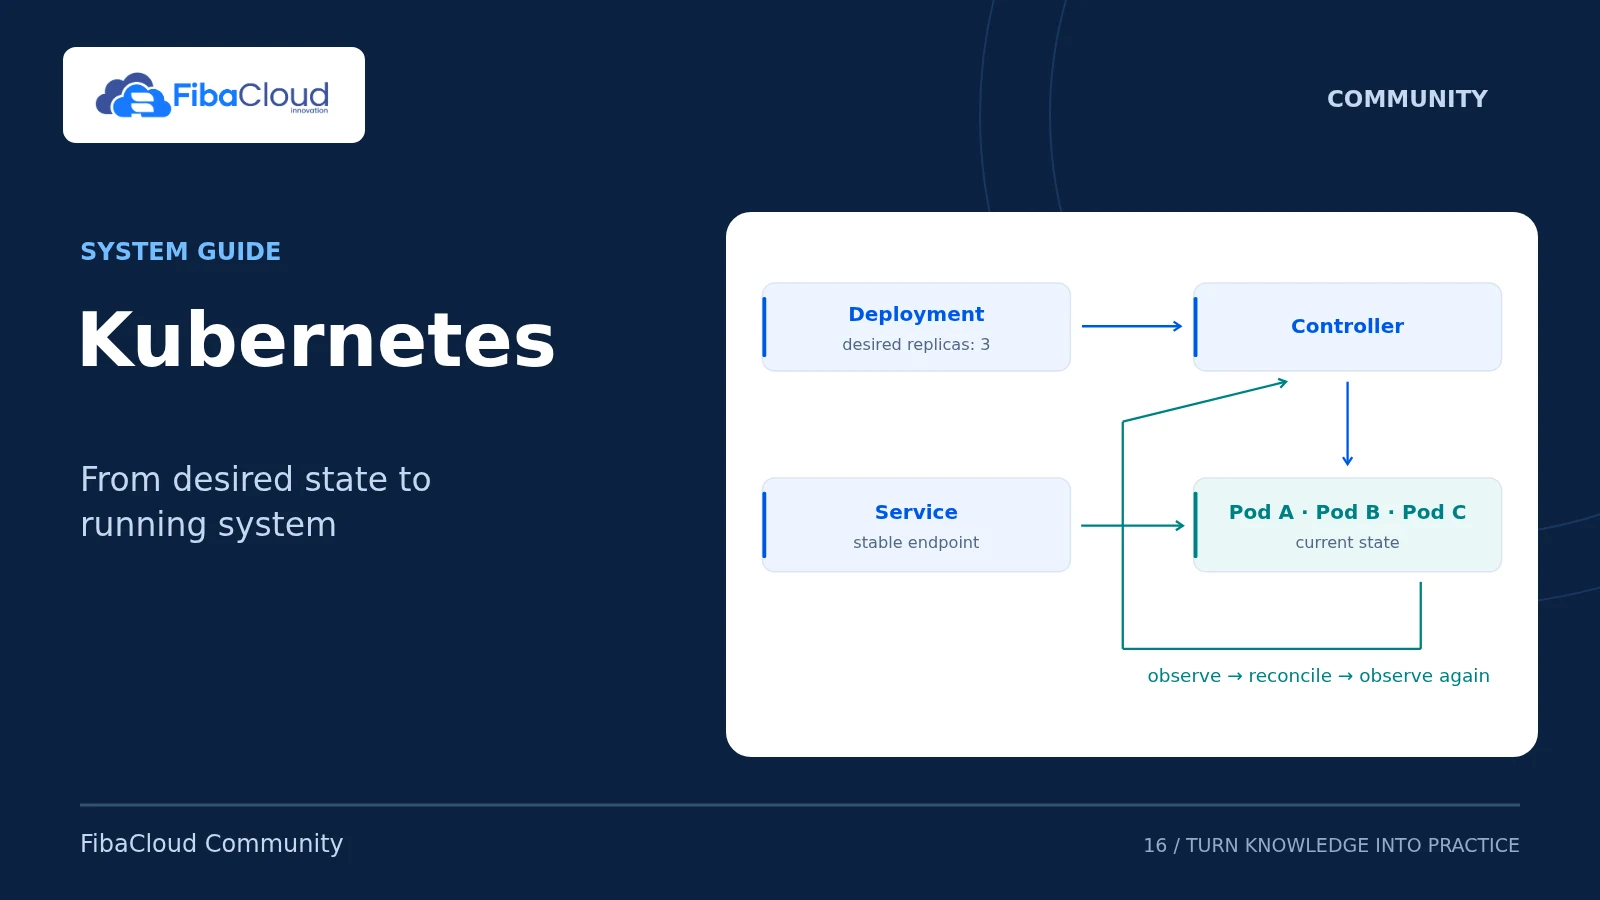
Minikube creates a Kubernetes cluster on one machine for learning and testing application definitions. Its Docker driver runs the Minikube node inside Docker; it does not mean Kubernetes directly manages application containers through Docker Engine. The cluster uses a CRI-compatible container runtime.
This guide uses Ubuntu 24.04 LTS, x86-64, Docker Engine and Minikube v1.39.0 for a separate local lab. It does not replace a production design for high availability, backups or security.
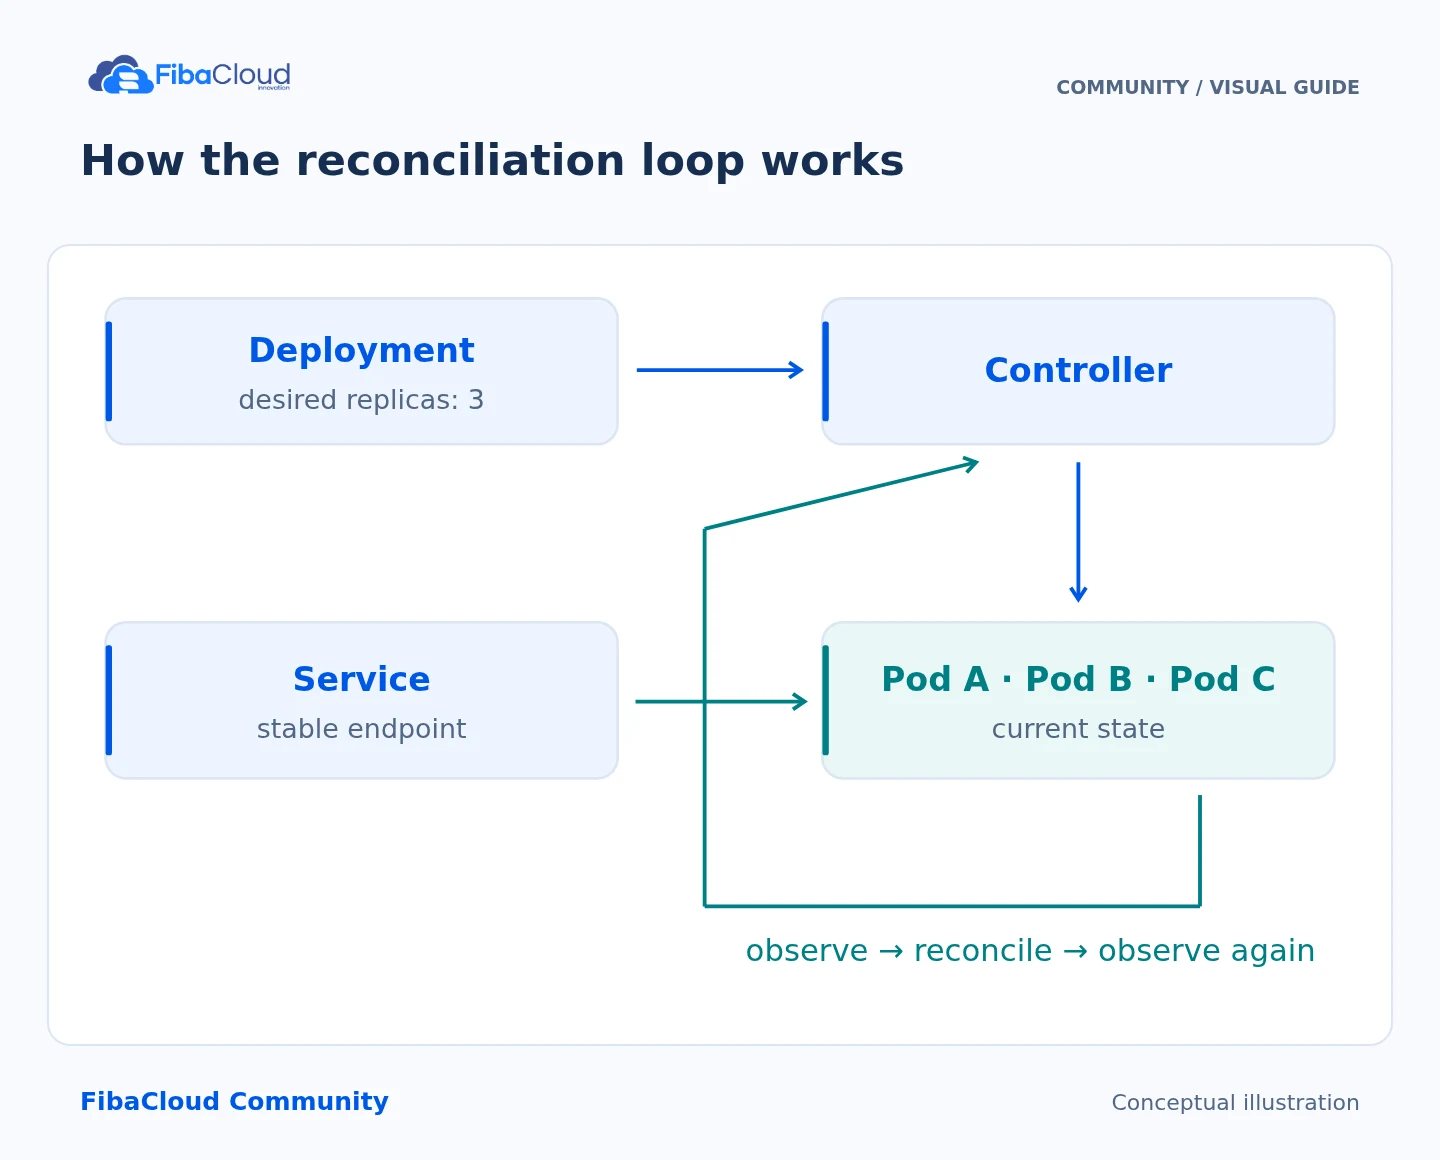
Step-by-step explanation
- Declare: Describe desired state in a Deployment.
- Observe: Watch the state of running Pods.
- Reconcile: Controllers work to close the gap.
- Reach: Use a Service to access ready Pods.
1. Check resources and Docker access
Minikube’s starting requirements are two CPUs, 2 GB of free memory and 20 GB of free disk. This example allocates 4 GB of memory; leave additional resources for the host. Internet access is required to download images.
uname -m
free -h
df -h
docker version
docker info --format '{{.OSType}}' The Docker commands must succeed without sudo, as the same user who will run Minikube, and report linux. Working sudo docker access does not prove that user’s driver access. Docker socket access is highly privileged; do not add accounts to the docker group indiscriminately. Prepare the permission model using Docker’s official guidance. For rootless Docker, follow Minikube’s separate rootless section instead of mixing the two modes.
2. Verify and install a versioned Minikube binary
These downloads are for x86-64; select the corresponding architecture on ARM systems. In a new directory:
mkdir -p fc-minikube-download
cd fc-minikube-download
FC_MINIKUBE_VERSION=v1.39.0
curl --fail --location --proto '=https' "https://github.com/kubernetes/minikube/releases/download/${FC_MINIKUBE_VERSION}/minikube-linux-amd64" -o minikube-linux-amd64
curl --fail --location --proto '=https' "https://github.com/kubernetes/minikube/releases/download/${FC_MINIKUBE_VERSION}/minikube-linux-amd64.sha256" -o minikube-linux-amd64.sha256
printf '%s %s\n' "$(cat minikube-linux-amd64.sha256)" minikube-linux-amd64 | sha256sum --check Stop if the checksum fails. After a successful check:
sudo install -m 0755 minikube-linux-amd64 /usr/local/bin/minikube
minikube version Downloading a checksum and binary from the same official release checks transfer consistency; it is not an independent signature-verification claim. Review release notes and compatibility before changing versions.
3. Start a separate local profile
minikube profile list
minikube start -p fc-lab --driver=docker --container-runtime=containerd --cpus=2 --memory=4096
minikube status -p fc-lab
minikube -p fc-lab kubectl -- --context=fc-lab get nodes -o wide
minikube -p fc-lab kubectl -- --context=fc-lab version If fc-lab already exists, check its owner and workloads or choose another profile name. The node should become Ready. Record the Kubernetes server and client versions. The kubectl -- wrapper obtains a matching client, so this guide does not invoke an uninstalled standalone command. Explicit context arguments also reduce the risk of operating on another cluster accidentally.
4. Define a bounded application
Create fc-demo.yaml:
apiVersion: v1
kind: Namespace
metadata:
name: fc-demo
---
apiVersion: apps/v1
kind: Deployment
metadata:
name: web
namespace: fc-demo
spec:
replicas: 1
selector:
matchLabels:
app: web
template:
metadata:
labels:
app: web
spec:
automountServiceAccountToken: false
securityContext:
runAsNonRoot: true
runAsUser: 101
runAsGroup: 101
fsGroup: 101
seccompProfile:
type: RuntimeDefault
containers:
- name: web
image: nginxinc/nginx-unprivileged:stable-alpine
ports:
- containerPort: 8080
securityContext:
allowPrivilegeEscalation: false
readOnlyRootFilesystem: true
capabilities:
drop: [ALL]
resources:
requests:
cpu: 50m
memory: 32Mi
limits:
cpu: 250m
memory: 256Mi
readinessProbe:
httpGet:
path: /
port: 8080
initialDelaySeconds: 3
periodSeconds: 5
livenessProbe:
httpGet:
path: /
port: 8080
initialDelaySeconds: 15
periodSeconds: 10
volumeMounts:
- name: temporary
mountPath: /tmp
volumes:
- name: temporary
emptyDir:
sizeLimit: 64Mi
---
apiVersion: v1
kind: Service
metadata:
name: web
namespace: fc-demo
spec:
selector:
app: web
ports:
- port: 80
targetPort: 8080
type: ClusterIP The unprivileged Nginx image uses port 8080, a non-root account, a read-only root filesystem and limited temporary storage. stable-alpine can change: record and pin the tested image digest for a real deployment. Do not put secret values in this file. emptyDir is not persistent application storage.
5. Apply and verify
minikube -p fc-lab kubectl -- --context=fc-lab apply --dry-run=client -f fc-demo.yaml
minikube -p fc-lab kubectl -- --context=fc-lab apply -f fc-demo.yaml
minikube -p fc-lab kubectl -- --context=fc-lab -n fc-demo rollout status deployment/web --timeout=120s
minikube -p fc-lab kubectl -- --context=fc-lab -n fc-demo get pods,service
minikube -p fc-lab kubectl -- --context=fc-lab -n fc-demo port-forward --address=127.0.0.1 service/web 8080:80 Leave port-forward running and execute curl --fail http://127.0.0.1:8080/ in another terminal. The Service remains ClusterIP: this workflow does not expose an internet-facing LoadBalancer or NodePort. Using --address=0.0.0.0 would change that access boundary.
Readiness determines whether a Pod can receive traffic; liveness can trigger a restart. Paths and delays must match the application. A successful apply alone does not prove that the application works.
Troubleshooting, rollback and cleanup
Pending: inspect resources and events. ImagePullBackOff: check the image name, architecture and registry access. CrashLoopBackOff: inspect logs, exit reasons, memory limits and required writable paths. Port-forward fails: confirm the local port is free and the Pod is ready.
minikube -p fc-lab kubectl -- --context=fc-lab -n fc-demo describe deployment web
minikube -p fc-lab kubectl -- --context=fc-lab -n fc-demo logs deployment/web --tail=50
minikube logs -p fc-lab --problems After an application update, inspect Deployment rollout history before using rollout undo deployment/web -n fc-demo with the same explicit-context wrapper. This does not restore an external database.
Stop port-forward with Ctrl+C. Preserve the lab using minikube stop -p fc-lab. Use minikube delete -p fc-lab only when deliberately removing this lab; its workloads and data can be lost. Complete Docker/Minikube networking and runtime acceptance on your separate machine. YAML validation alone does not establish those results.
Official references
- Minikube startup and resource requirements
- Docker driver and rootless differences
- kubectl installation and version compatibility
- Kubernetes readiness and liveness probes
- NGINX unprivileged container image
Technical content and sources reviewed on October 4, 2026. Recheck the relevant official documentation when a version or provider changes.
Leave a Reply