FibaCloud
Skip to content
Ask a question

Press ESC to close

Install MySQL 8.4 LTS on Ubuntu 24.04

This guide prepares a new MySQL 8.4 LTS server on Ubuntu 24.04 LTS. You will verify the package source, local access, application privileges and restoration into a separate database. It is not an upgrade or conversion procedure for an existing MySQL or MariaDB data directory.
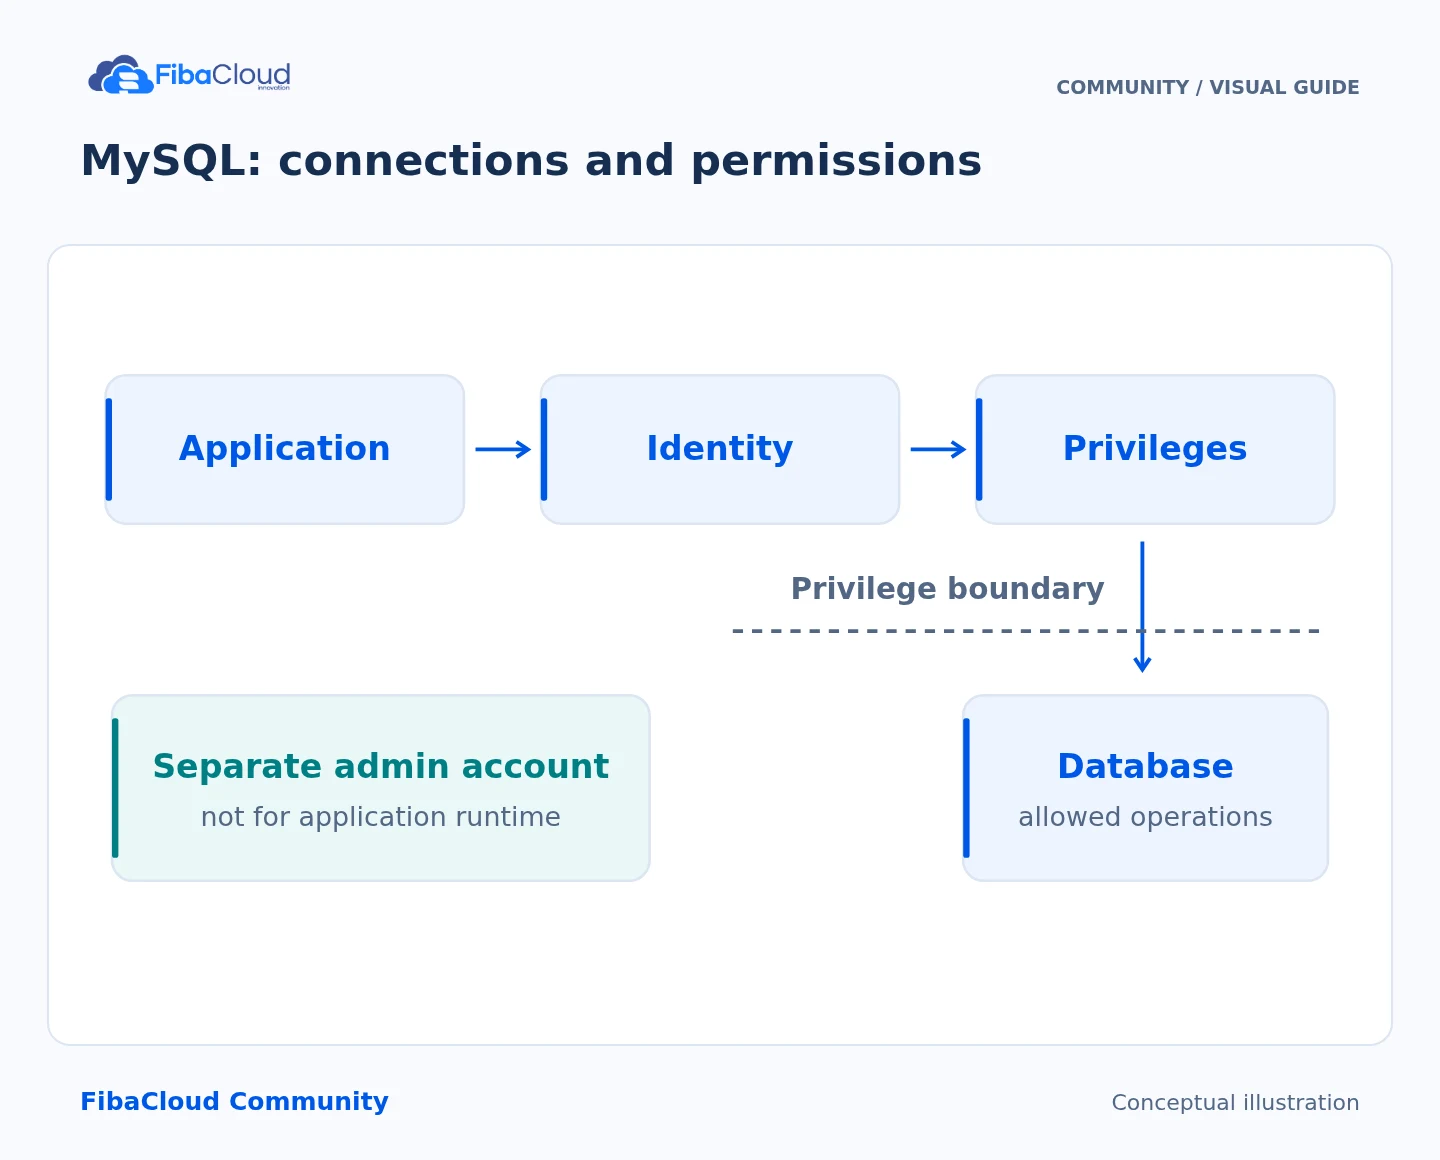
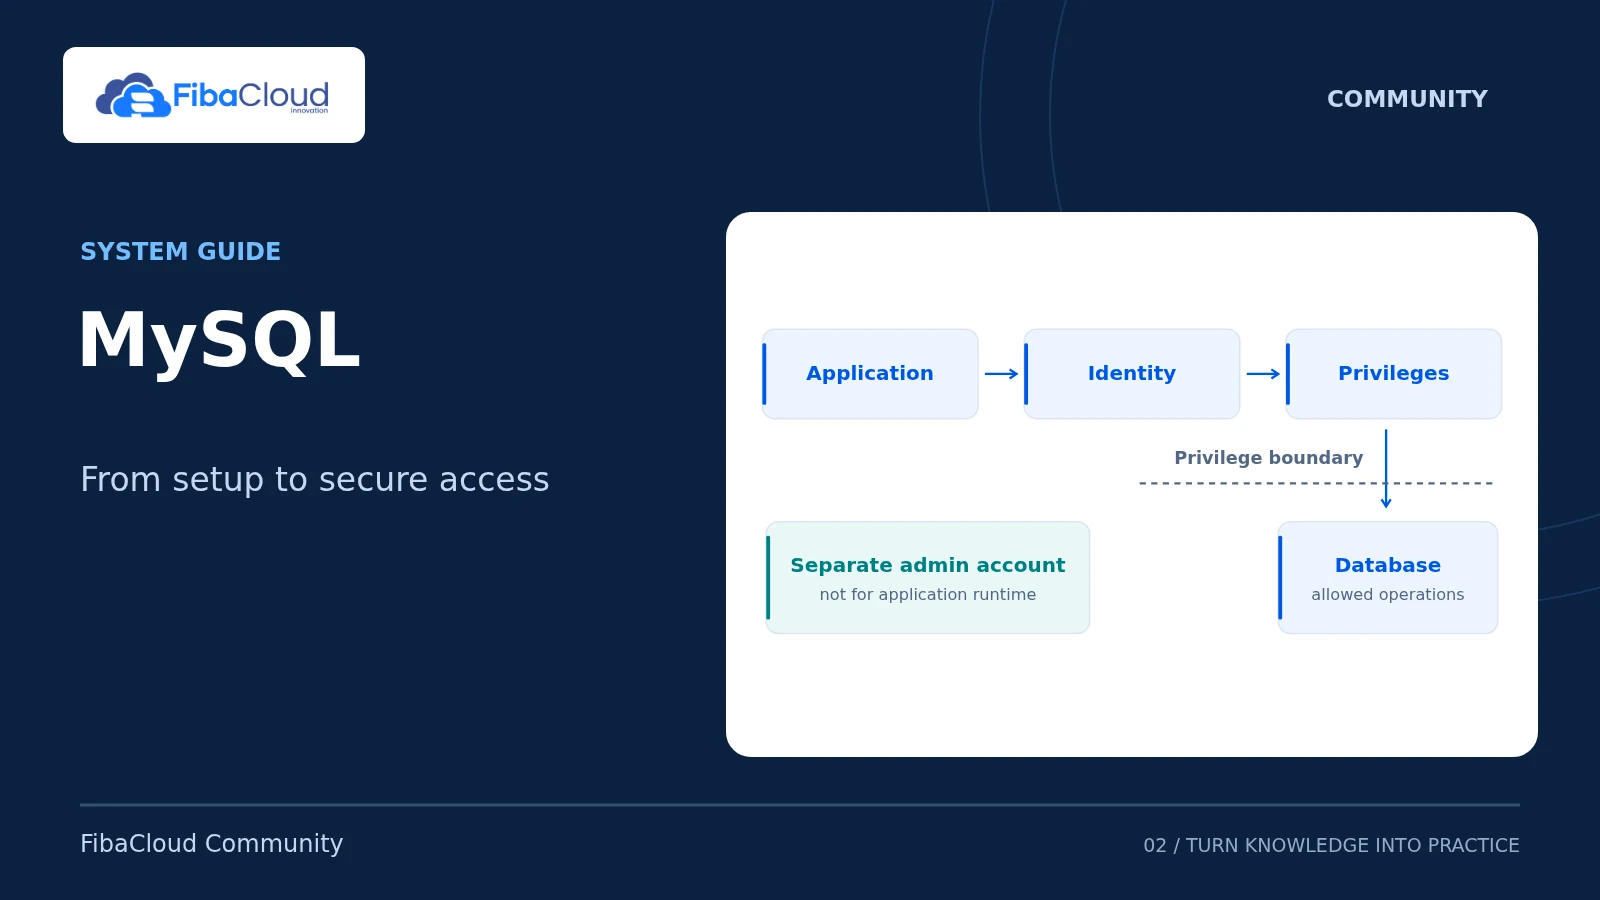
MySQL: connections and permissions
MySQL: connections and permissions The application connects with a dedicated database account. Authentication, minimum required permissions and backups work together.
Step-by-step explanation
  1. Connect: Use a dedicated application account.
  2. Authenticate: Restrict user and source host.
  3. Authorize: Grant only the required database access.
  4. Protect: Back up and test restoration.

Before you begin

You need a sudo user, server-console access and adequate free disk space. Back up existing data and /etc/mysql configuration. If these checks reveal an existing database installation, stop and use its documented upgrade or migration procedure instead of replacing packages.
cat /etc/os-release
dpkg-query -W 'mysql*' 'mariadb*' 2>/dev/null
ss -lnt | awk '$4 ~ /:3306$/ {print}'

The Ubuntu package name mysql-server does not, by itself, identify 8.4. Verify both the version and the repository that supplies it.

Select the official APT source

Download the current mysql-apt-config package using the link in the MySQL APT quick guide. Complete the signature/integrity checks described there; do not run a third-party installation script. Pass the actual name of the single downloaded file to sudo dpkg -i, without an unresolved version placeholder. Confirm your Ubuntu release and select the mysql-8.4-lts series in the configuration screen.

sudo apt-get update
apt-cache policy mysql-community-server mysql-server

The candidate must be 8.4.x from the expected Oracle MySQL repository. Stop on an APT signature error; do not disable signature verification. Then install the new server:

sudo apt-get install mysql-server
sudo systemctl enable --now mysql
sudo systemctl status mysql --no-pager
mysql --version

Use the administrator authentication selected during installation. For a password-authenticated root account, mysql -u root -p prompts interactively. Use sudo mysql only when socket authentication is actually configured. A rejected login method is not, on its own, a reason to reset the password; check the installation choice first.

Verify the server and its access boundary

In an administrator session:

SELECT VERSION(), CURRENT_USER();
SHOW VARIABLES WHERE Variable_name IN
  ('bind_address','port','require_secure_transport','character_set_server');
SELECT User, Host, plugin FROM mysql.user;

The application in this guide runs on the same server, so port 3306 does not need public exposure. Prefer a local socket. A remote application needs a separate design for private networking, allowed source addresses and verified TLS certificates. MySQL accounts identify both user and origin: 'fc_app'@'localhost' is not a remote account.

Before removing an unused account, verify its owner and dependencies, then use DROP USER. Do not modify the mysql.user table with UPDATE or DELETE. Use CREATE USER, ALTER USER, GRANT and REVOKE; those account-management statements do not require a subsequent FLUSH PRIVILEGES.

Grant only the application privileges you need

appdb below is a new training database. Stop if that name is already in use and choose a separate test name. Store the generated password in a password manager; keep it out of screenshots and job logs.

CREATE DATABASE appdb
  CHARACTER SET utf8mb4 COLLATE utf8mb4_0900_ai_ci;
CREATE TABLE appdb.tasks (
  id BIGINT UNSIGNED PRIMARY KEY AUTO_INCREMENT,
  title VARCHAR(200) NOT NULL,
  done BOOLEAN NOT NULL DEFAULT FALSE
) ENGINE=InnoDB;
CREATE USER 'fc_app'@'localhost' IDENTIFIED BY RANDOM PASSWORD;
GRANT SELECT, INSERT, UPDATE, DELETE ON appdb.* TO 'fc_app'@'localhost';
SHOW GRANTS FOR 'fc_app'@'localhost';

Your application should not use root. If deployments need schema changes, use a separate migration account with only the required DDL privileges on this database. Do not grant global *.* privileges to the runtime account.

Exercise successful and denied operations

mysql --protocol=SOCKET --default-character-set=utf8mb4 -u fc_app -p appdb
INSERT INTO tasks(title) VALUES ('İstanbul yedeği 🚀');
SELECT id, title, done FROM tasks;
CREATE TABLE permission_probe(id INT);

The first two statements should succeed. The last must fail with a privilege error for the restricted application account; do not “fix” this expected denial by granting broad permissions. utf8mb4 also stores four-byte Unicode characters. Avoid carrying the old utf8/utf8mb3 choice into new schemas.

Verify backup and recovery

A running service alone does not complete installation. Use the InnoDB dump procedure in the MySQL management guide and restore into a separate appdb_restore database. Compare rows, Unicode text and required objects. An application-database dump does not contain its users and grants; manage those securely and separately.

For a startup failure, inspect sudo journalctl -u mysql -n 80 --no-pager and your configuration changes. Do not delete or reinitialize an existing data directory. Restore the saved configuration when appropriate; database downgrades or data-format conversions are not ordinary package rollback operations.

Sources

Technical content and sources reviewed on October 4, 2026. Recheck the relevant official documentation when a version or provider changes.

Leave a Reply

Your email address will not be published. Required fields are marked *