FibaCloud
Skip to content
Ask a question

Press ESC to close

CSR Code Generation: SAN and Private Key Checks

A Certificate Signing Request (CSR) asks a certificate authority to issue a TLS certificate. It contains the public key, request details and a signature created with the private key. The private key is not part of the CSR and must not be sent to the certificate authority. Browsers check domain names against the certificate’s Subject Alternative Name (SAN) extension; a Common Name (CN) alone is insufficient.

Scope and prerequisites

This guide covers domain CSRs with OpenSSL 3.x and explains how the same information applies to cPanel. Commands target a Linux terminal. Replace example.com and www.example.com with domains you control. Treat the apex domain, www and other subdomains separately: *.example.com does not itself cover example.com.

Check your certificate provider’s required names, key type and validation method first. DV, OV and EV certificates do not have identical organizational requirements. Supply verified company information when your provider requires it. You also need DNS or web access suitable for domain validation.

Creating a CSR does not change the running web server. For renewals, preserve existing certificate and key files and use a separate directory with restricted access.
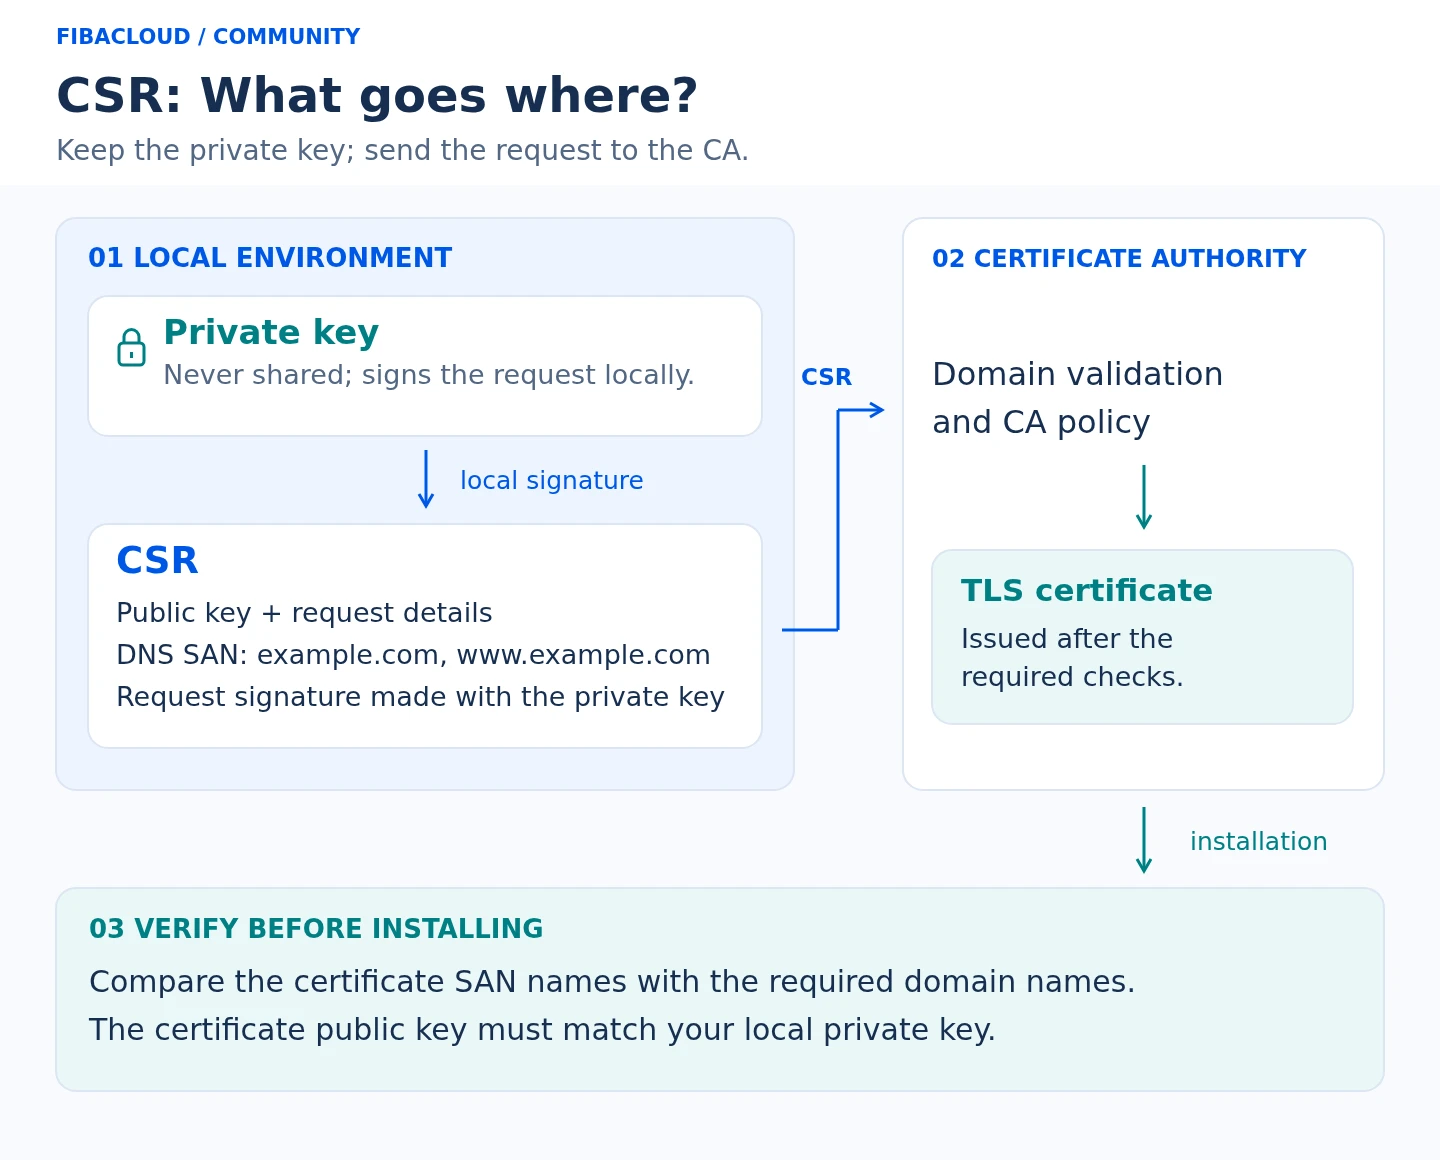
A CSR carries the public key, requested DNS SAN names and a locally created signature. The private key is not shared. Verify the issued certificate’s SAN names and key match before installation.
CSR: What goes where? A CSR carries the public key, requested DNS SAN names and a locally created signature. The private key is not shared. Verify the issued certificate’s SAN names and key match before installation.
Text description of the illustration
  1. Keep the private key local; do not send it with the CSR.
  2. Include the public key and required DNS SAN names in the CSR, signed locally.
  3. Submit the CSR; the CA validates the domain according to its policy.
  4. Check the issued certificate’s SAN names and match to the private key.

Generate a key and CSR with SAN names

Check the OpenSSL version and create a private working directory:
openssl version
install -d -m 700 "$HOME/tls-example"
cd "$HOME/tls-example"
umask 077

The following creates an RSA 3072-bit key and requests two DNS names. Stop if these filenames already exist; do not overwrite an existing key.

openssl req -new -newkey rsa:3072 -sha256 -noenc \
  -keyout example.com.key \
  -out example.com.csr \
  -subj "/CN=example.com" \
  -addext "subjectAltName=DNS:example.com,DNS:www.example.com"
chmod 600 example.com.key

-noenc leaves the private key file without passphrase encryption. This can support unattended service startup, but makes file permissions, server access and secure backups essential. If your policy requires an encrypted key, omit -noenc and plan how the TLS service will obtain its passphrase. Do not put the passphrase in command arguments or published examples.

Verify the request before submission

Check the request signature, requested SAN names and file permissions:

openssl req -in example.com.csr -noout -verify -text
openssl pkey -in example.com.key -check -noout
stat -c '%a %n' example.com.key

The signature check should succeed. X509v3 Subject Alternative Name should list only the required DNS names. The key file should have mode 600, allowing its owner to read and write it. Do not store it in a web root, public repository or support message.

Compare public-key digests to confirm that the CSR and private key belong together without displaying the private key:

openssl req -in example.com.csr -pubkey -noout \
  | openssl pkey -pubin -outform DER \
  | openssl dgst -sha256
openssl pkey -in example.com.key -pubout -outform DER \
  | openssl dgst -sha256

Both digests must match. If they differ, create a new request with the intended key. Similar filenames do not establish a match.

Using cPanel

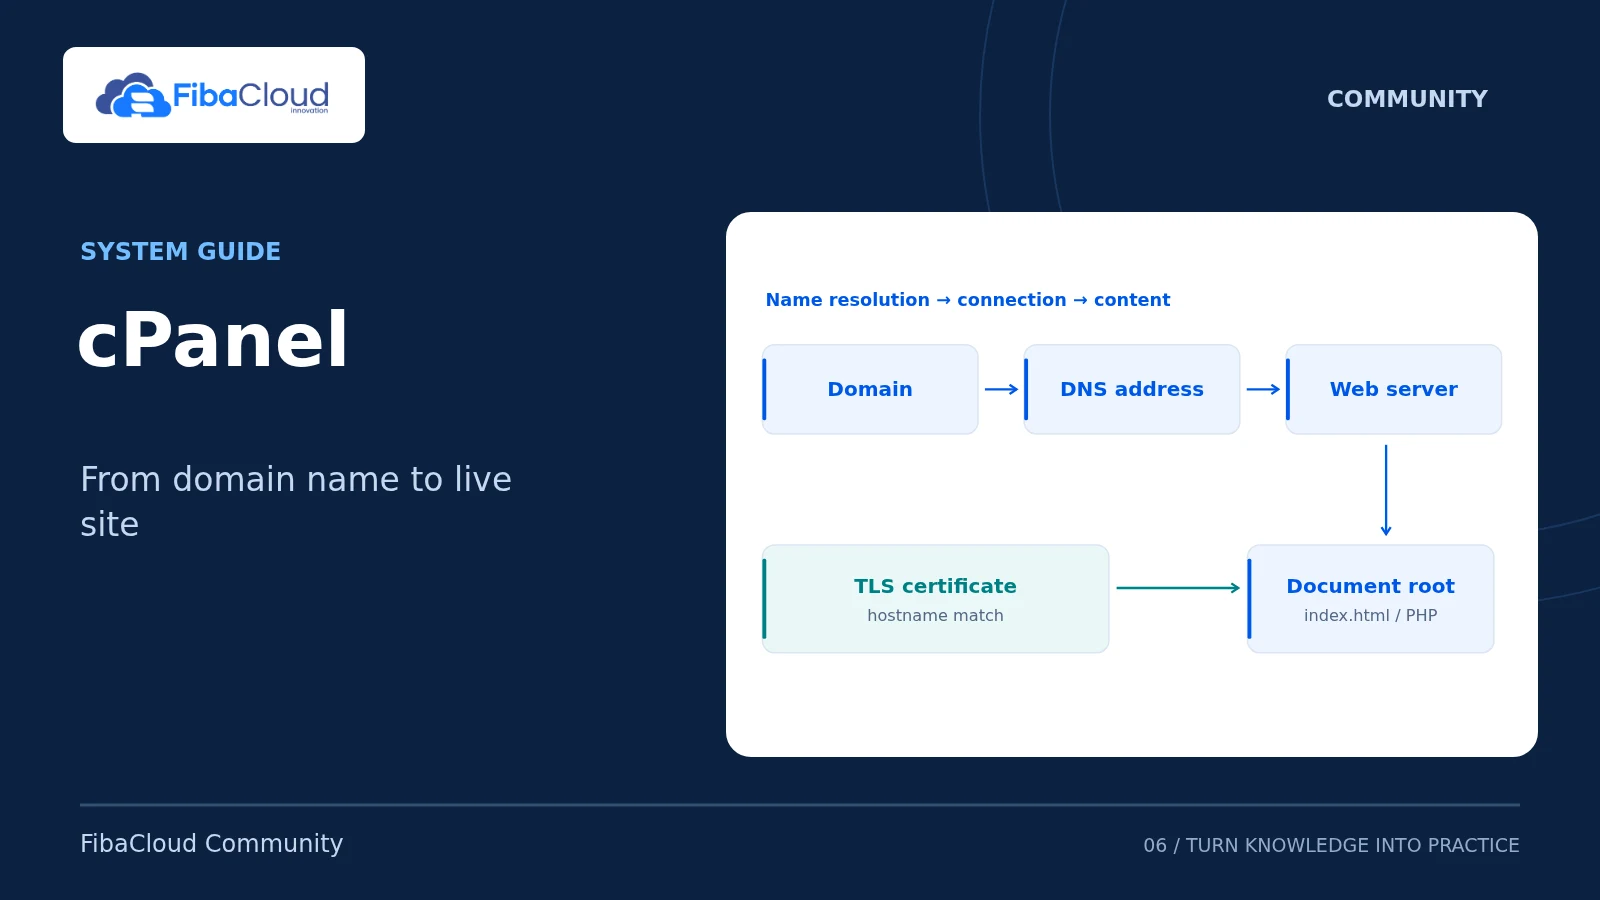
Open SSL/TLS → Certificate Signing Requests (CSR) in your account. Enter the required domains and the information requested by the provider. The interface varies with panel version and account permissions. If it does not expose a SAN field, do not assume that CN covers every name: follow the provider’s multi-domain request instructions or use the OpenSSL procedure above.

A panel-generated key differs from a key generated in your terminal. Do not combine the CSR from one method with the private key from the other. Installing a terminal-generated certificate in cPanel also requires securely importing its matching private key into the same account. Do not reuse another customer’s or application’s key.

Submit the request and verify the issued certificate

Submit only the CSR to the provider. Complete domain validation through DNS, HTTP or another method the provider permits. Issuance does not mean that every requested field was accepted unchanged; inspect the returned certificate.

Assuming you saved the issued PEM leaf certificate as server.crt in the working directory:

openssl x509 -in server.crt -noout -issuer -dates -ext subjectAltName
openssl x509 -in server.crt -noout -checkhost example.com
openssl x509 -in server.crt -noout -checkhost www.example.com
openssl x509 -in server.crt -pubkey -noout \
  | openssl pkey -pubin -outform DER \
  | openssl dgst -sha256

The last digest must match the private key’s public-key digest. Also verify the certificate chain, validity period and files configured in your web server. -checkhost checks name matching; it does not establish chain trust or prove that the live site serves this certificate. After installation, test the actual HTTPS endpoint with a browser and TLS client.

Troubleshooting and rollback

  • Missing or incorrect SAN: Create a request with the intended DNS names and ask the provider to reissue the certificate. Changing only CN is insufficient.
  • Key mismatch: Identify which request and key produced the certificate. Do not change the live service until you have the matching pair.
  • Lost private key: A CSR or certificate cannot reconstruct it. Create a new key and request, then obtain a replacement certificate.
  • Exposed private key: Do not roll back to the compromised key. Generate a new key, replace the certificate and follow the provider’s revocation procedure.
  • Service fails after installation: If the old key remains secure and its certificate is valid, restore the previous verified configuration. Run the server’s configuration test before restarting production.

Sources

Technical content and sources reviewed on October 4, 2026. Recheck the relevant official documentation when a version or provider changes.

Leave a Reply

Your email address will not be published. Required fields are marked *